By Harrison Gloyne, Redstack Intern
If you’re having any trouble using Autodesk Inventor, we have a whole list of support articles you can access from our blog.
Now that you have finished or are finalising your design, you may want to see what it will look like once it has been 3D printed. But how can you do this before you 3D print?

How do I render in Inventor?
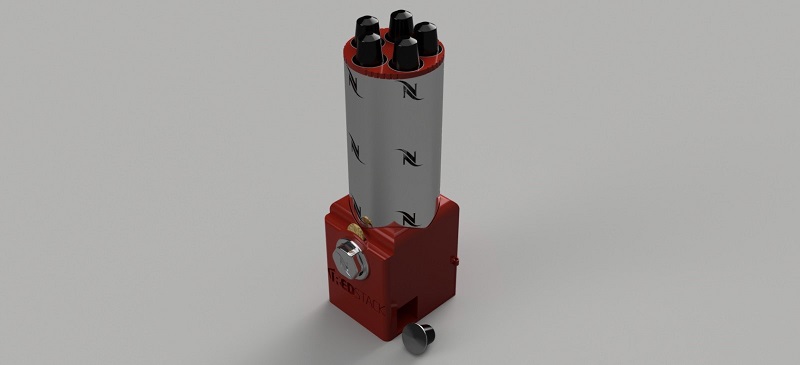
Rendering allows you to see a realistic image of your design, and can be done by following these 3 simple steps.
Step 1 – Go to the Environments tab on the top banner and then select Inventor Studio from the drop-down banner.
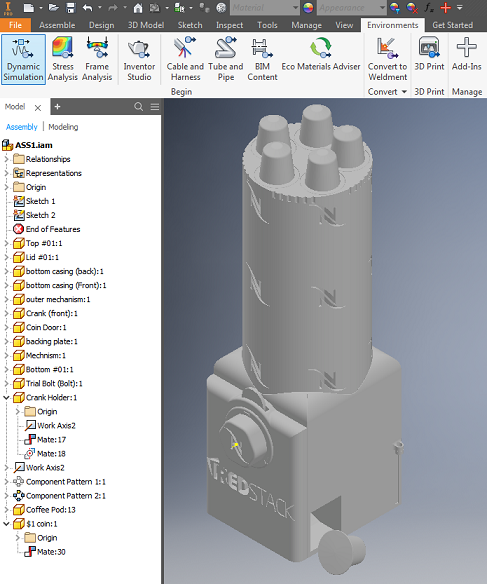
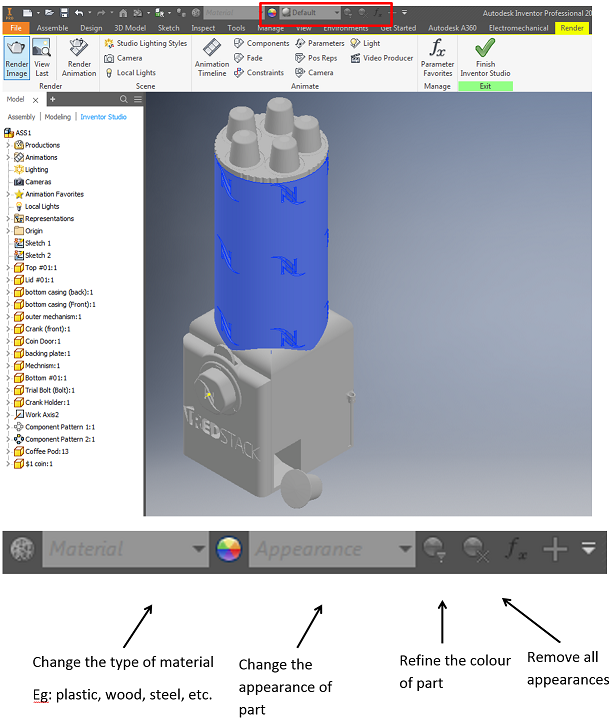
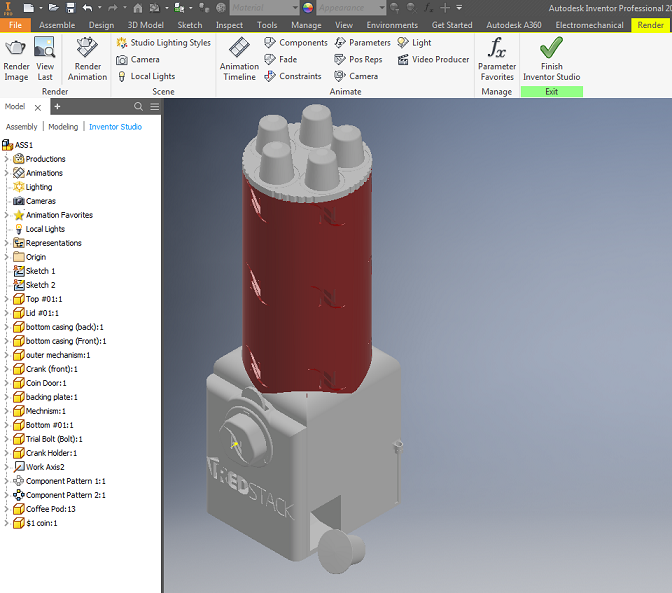
Step 2 – Once in Inventor studio there are several options.
To put a texture, material or colour on your part you simply have to select the part in which you want to edit and go to the drop-down bar on the top of the screen to select your appearance.
Step 3 – Select Render image and follow the prompts
These 3 easy to follow steps will have you rendering in no time, allowing you to see a realistic image of your design before you 3D print.
Purchase Autodesk Inventor from the Redstack online store today or learn more about Autodesk Inventor training course.
To learn more about the full range of products, training and support services available from Redstack, contact us on 1300 667 263.