10 Things every Revit user must know
By Jet de los Reyes | Redstack Applications Engineer - AEC
Keeping your workflow as efficient as possible just sounds too much especially that you have a lot in your plate. Attend coordination meetings, Review shopdrawings, Design projects. Oh, and did I forget that you also need to draft the design you came up with?
Being an all-rounder, you will surely struggle to keep track of things. There would be times that you will end up compromising quality and accuracy of drawings just to meet the deadline. But it should never be the case. All you need to do is follow a simple guide, break it down into smaller tasks and all your boxes will be ticked towards the end without you noticing it.
In this post, we’ll share with you the TOP 10 Things that you can implement in Revit to make your workflow more efficient thus increasing your productivity.
We get it! It’s difficult to maintain certain tasks that you have to repeat every time your firm starts a new project. I’m sure you’re asking if there’s a simple way to standardise some settings and the answer to that is a big YES! Either you are in charge of drafting or managing the production of drawings, every Revit user must know these 10 things to ensure that every drawing set to be issued will be based on the company’s design and drafting standards.
Take note of the following items and see which one can be added to your workflow.
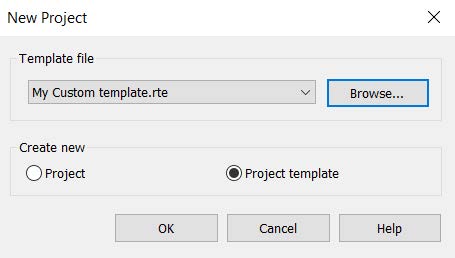
1. CUSTOMISE PROJECT TEMPLATES.
By creating a custom template, you are able to set consistency on your drawings in terms of which titleblock to use, symbols for view markers, annotation styles, fill patterns and whole bunch of other stuff.
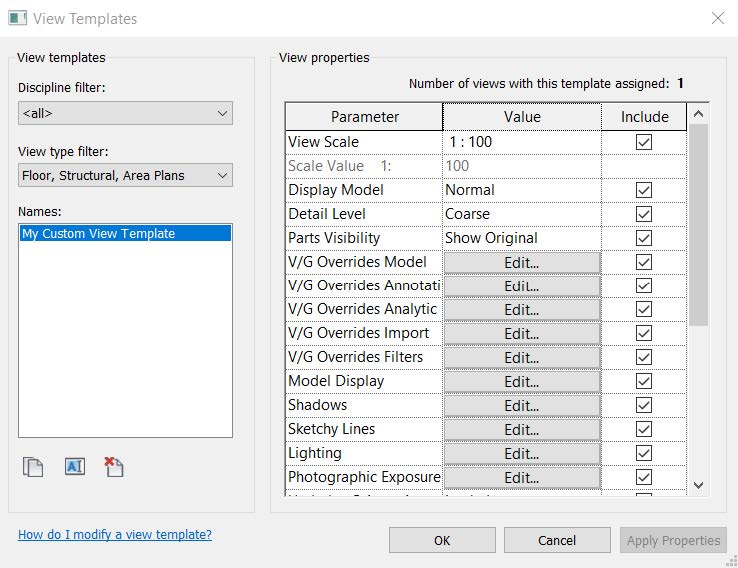
2. USE VIEW TEMPLATES.
For a multi-storey project, implementing the same look for typical floor plans can be easily achieved by applying a custom view template. It can vary from locking the drawing scale up to which elements or categories are hidden in that view.
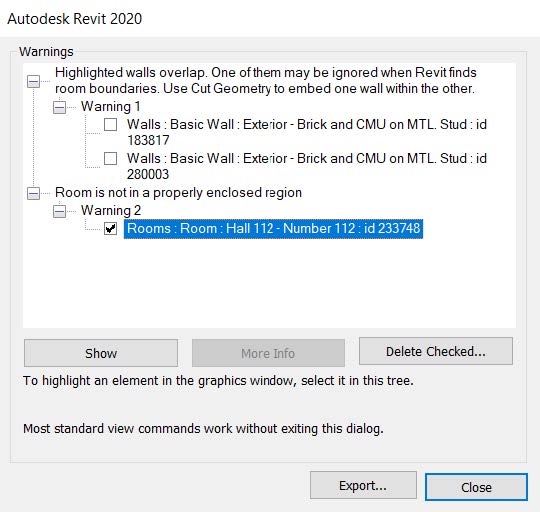
3. RESOLVE WARNINGS.
There are errors and warnings. Errors will usually not allow you to complete a command where as a warning will notify you about an unwanted result or possible future conflicts. By resolving this, you are at peace that you model is ‘healthy.’
4. ENABLE WORKSHARING.
If a project requires collaboration of two or more users then worksharing is a must. This will allow multi-user to access and make changes to the same project at any given time and work on individually assigned worksets, if any.

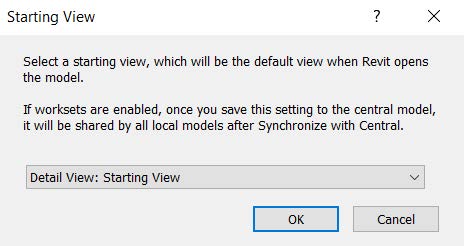
5. ASSIGN A STARTING VIEW.
After saving and closing a project, you would expect it to open on the last viewed view. However, working on a large model where the session ended on a 3D view will take longer. Setting a starting view to a simpler drafting view will be wise.
6. UTILISE ADD-INS.
There are several free add-ins available in Autodesk App Store which you might find useful to incorporate in your workflow from improving scheduling, batch modify parameters and a lot more. Otherwise, there are paid apps which will offer more features.

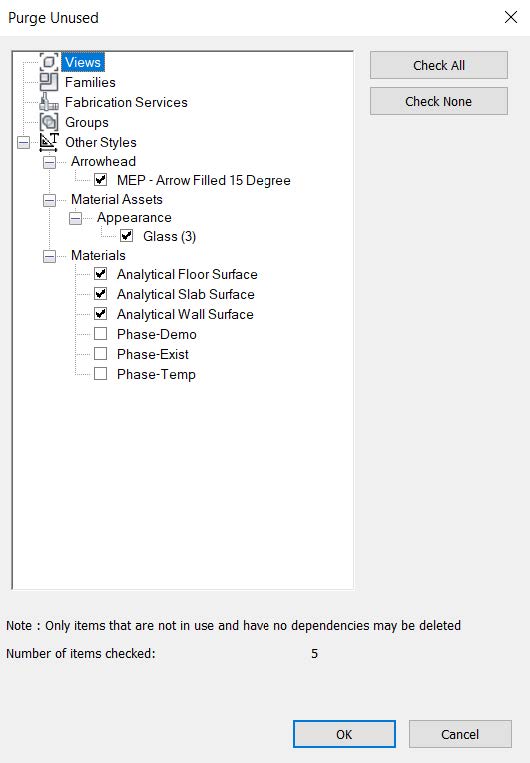
7. DO A SELECTIVE PURGE.
There are instances when you’ve created certain annotation styles or uploaded families which you decided not to use in the end. In this case, purging your project selectively will allow you to pin point specific items to remove in your project.
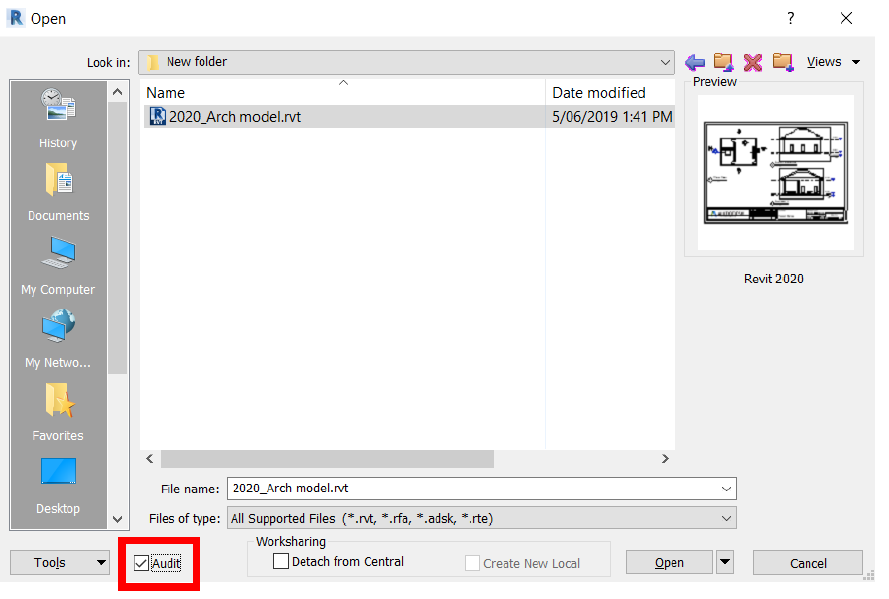
8. AUDIT YOUR MODELS.
Using the Audit option at least once a week will help your model stay healthy and less likely to be corrupt in the future. It scans, detects and fixes corrupt elements in the model but will not provide a feedback on which elements are fixed.
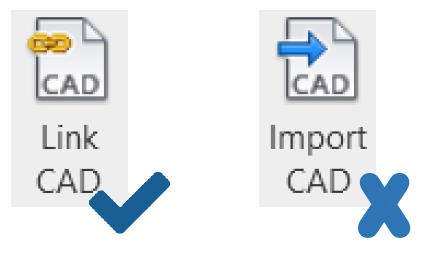
9. AVOID IMPORTING CAD FILES.
Stick with Linking CAD files and you’ll be alright. It is rather easy to manage links as compared to importing. It is also not recommended to explode imported CAD files as this might cause your file to be corrupted.
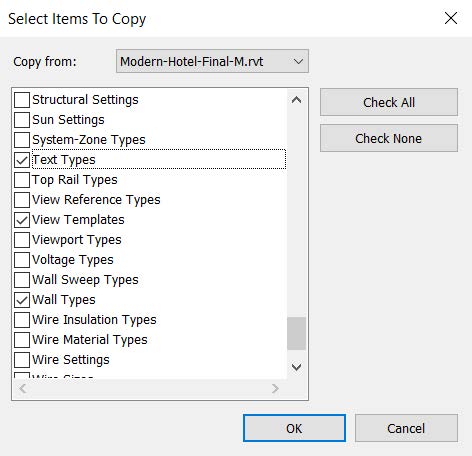
10. TRANSFER PROJECT STANDARDS.
In the event that you want to migrate certain settings from other projects which did not form as part of your template, you can certainly do that using the Transfer Project Standards tool under Ribbon > Manage tab.
Hopefully, there are a few items which you can have as a take away to improve your workflow efficiency. With those settings in place, you will have to worry less about drawing standards and be confident that your design is fully documented not only accurately but consistently. Also, there are abundant resources such as Autodesk Knowledge Network to help you navigate your way for more Tips and Tricks and Autodesk Community to support you along your Revit journey.
Revit can be purchased as part of the Architecture, Engineering and Construction Collection here: https://www.redstackshop.com.au/autodesk-architecture-engineering-construction-collection